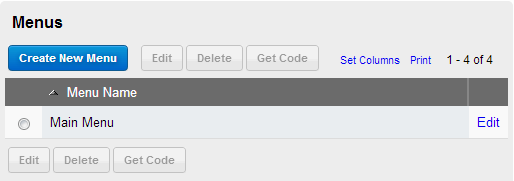
Once you have created content pages, the next step is to add them to your menu so people browsing your website can access these pages. How to add/edit website menu items:- Click on Manage Pages and click on the Menu tab. Click Edit on the menu you want to edit as displayed in the image below:
 - You will now see the Menu Edit screen below:
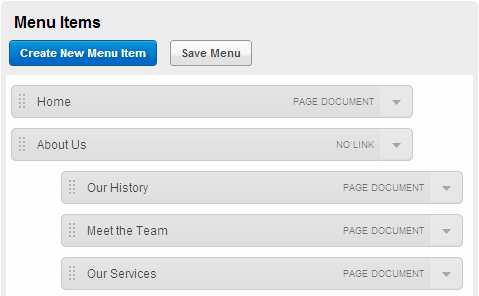 - To change the structure of your menu you can simply click the menu item, on the far left side, and drag. If you change the vertical position of a menu item then this will change the order it appears in the menu. If you drag menu items to the right, so they are indented, this will make the menu item a sub menu. For example, in the screenshot above the Our History menu item is a sub menu of the About Us menu item.
- To create a new menu item, click the Create New Menu Item button. The Menu Item Details pop up screen will appear.
- On the Menu Item Details popup you have the following options to enter:
- Label - The name of your menu item.
- Type - Choose whether the menu item is a Link (to an internal page on your website), Custom Link (to an external page), No Link (just text - recommended for parent items with a sub menu) or a Heading.
- You can also access the following Advanced Options:
- Visible On Front - Sets if the menu item will be visible in the menu
- Visible in Sitemap - Sets if the menu item will be visible in the site map
- Show only for - Allows you to set if the menu item will only be shown for all visitors or only contacts in a certain subscription group of your Database Marketing contacts
- Description (if setup on your website) - A short description of the menu item
- Type - Allows you to set if the menu item is a Heading, a Link, or if it has no link (parent menu with no content page which is acting as a placeholder). Selecting Link here will enable the Link Type, Website Link and Target options below
- Target - Sets if clicking the menu item will display the linked page in the same window or in a new window
- Start New Column (if setup on your website) - Allows you to display the menu item as a new column if it is a sub menu item
- Click the Save button. You can now drag the menu item into position as per the instructions in Step 3
- Ensure you click Save at the bottom of the menu page to save the changes to the menu.
| )
)
)
)