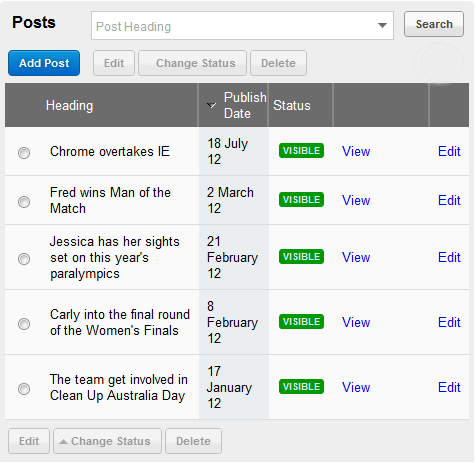
The Blog Manager allows you to add new Blog entries, also known as posts, to your website quickly and easily. Blogs are a great way to keep your website up-to-date, drawing people back to your website to read new content and improving your search engine optimisation, particularly when your post topics include your keywords. Note: We have recently upgraded our Blog tool to include new features and some changed functionality. When reading through this help article, if you notice that some steps are different it means you are using the outdated Blog Manager and you need to upgrade to the most recent version. Please contact us and we can get this organised for you. To add a new Blog post:- Click on the Blog tab when you are logged into your website account. You will then see the Posts screen below:
 - Click on Add Post. You will see the screen below:
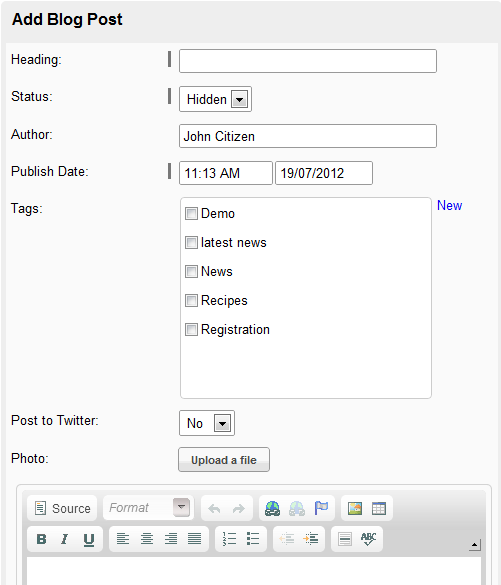 - Give the post a Heading. This will appear in Heading 1 Font at the top of your Blog entry.
- Choose the post's Status:
- Hidden: The post will not appear on your Blog. This is ideal for when you are still editing the blog post and want to make further changes
- Visible: The post will appear on your Blog. You will still be able to make changes to the post
- Choose the Author.
- Select a Publish Date.
- Select a Tag for the post. Tags are a simple way of grouping your posts into similar themes or topics so visitors can more easily search your blog for the posts they are interested in. To create a new tag, click 'New'.
- Choose whether or not you want to Post to Twitter. If you select 'Yes' the system will automatically generate a Tweet containing your post's heading and a short link to the post. You can edit this field with different information if you like. Note: this feature will only work if you have your Twitter details set up in the system. If you don't already have them set up then read our article on setting up your Twitter Integration for the first time.
- Upload an Image for your blog by clicking 'Browse' and then find and select the image on your computer. This is not compulsory, but the most successful blogs tend to include great, relevant photos which make them visibly appealing. When you upload the image, you'll be given the option of resizing the image. For very large images, this is highly recommended.
- Input your post content. Just like your web pages and email campaigns, you can format this text by adding links, images, table, bullet lists and more. Read the help article Formatting Text for more information on this.
- When you are happy with your content, select Go back to Blog list and click Save Blog Post.
You new post will appear on the Posts list. Check to see that the Status is correct, otherwise you may have to make changes by clicking on the 'radio button' (the small round button that turns green when selected) by the post heading, clicking 'Change Status' and selecting the correct status. | )
)
)
)